Saturday, 12 October 2013

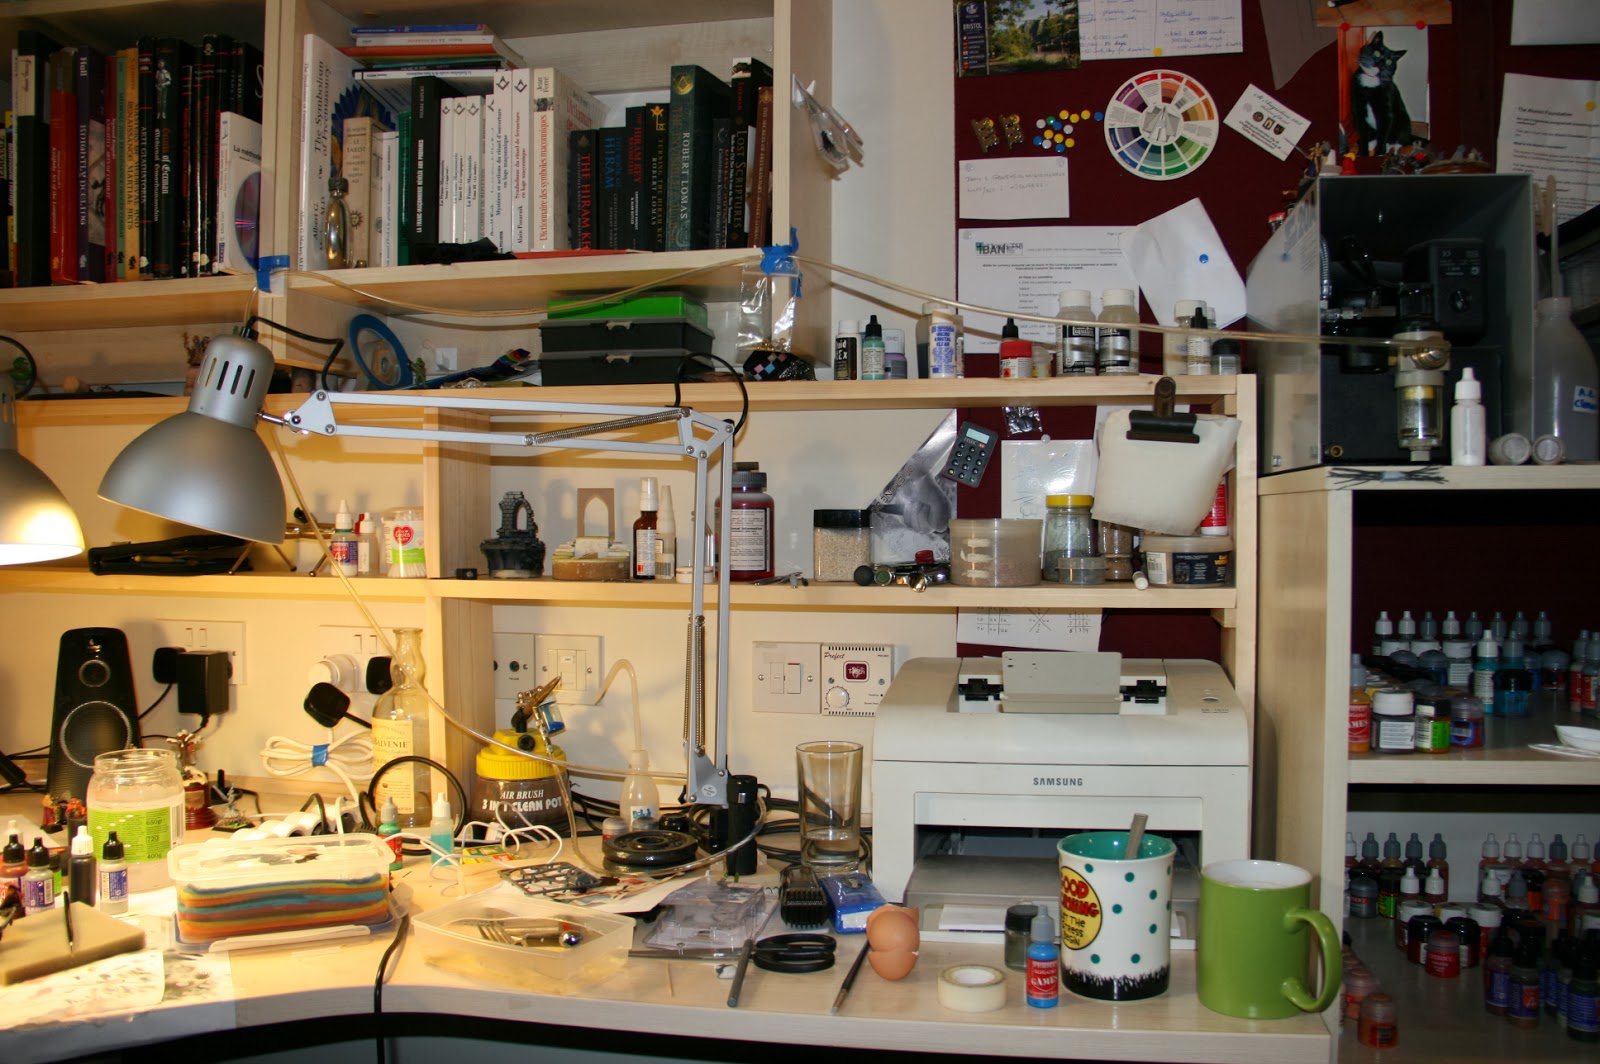
Desktop 1.1

Henceforth the "Desktop shot of the week" will be updated each Saturday.

So starting off the first Saturday!:

YES!!!: the second and third light sources have appeared, praised be the scandinavian furniture magus!!


A bit of DIY has added much needed shelf space... And yes there are now stagnating mugs of tea...


Not the optimum way I've had for paint storage but it'll do for the few months I will spend here...

Checkout Tiny Peoples' Facebook page and post pictures of your workspace!

Keeping up appearances

Greetings all!

A quick line to let you know that Tiny People now has its' own Facebook page!
Another way to keep up with the scramblings of the mini men...

Please "Like" and "Share"!

Have a pigmentatious day!

Friday, 11 October 2013

Nurgle Plague Marine: the Kitchy world in pastels...

I painted this little guy nearly a couple of years ago for a small competition organised for the release of GW's new paint range. I really enjoyed the new range, even though I still believe some of the older shades should never have disappeared (Where are you oh sweet Goblin Green, Snakebite Leather and Scab Red??? WHERE???????????????). 

Ok, grieving over. A few explanations and some pictures!


The base

I built the base upon a small leftover piece of oval wood. A precooked Fimo strip marked the edge of the pavement; the protective cap of a paintbrush made a draine-pipe; some wire mesh was cut to size and laid down.

The wall was cut out of a precooked Fimo plaque and GreenStuff was used to make the riveted metal strip. The corrugated iron door remains were made out of a sheet of Yellow-Green Milliput. I will post a tutorial on corrugated iron making as it is oh so simple and really adds character to a base.

A bit of flocking and dirt was randomly added and hey presto!: one ugly base!


The Marine

I love these old school models! All except their backpacks which are absolutely appalling! So I made a pack for this guy out of a more recent loyalist Space Marine pack and the canister from an imperial guard flame thrower. Finally I used lead paper to cut out little detailed plates to create a battered and repaired look to the whole pack.


A few more pictures so you see what I am on about...


Without a proper step-by-step it would be pointless to explain the paintjob. However a few comments might be of use as these are things that I generally apply regardless of the piece I am working on.

1) I always use the colours of the miniature somewhere on the base. Maybe not always in the same shade as on the model itself, but you will always find the dominant colours of my miniatures somewhere on the base. In this piece the wall is painted with a different shade of the same colour as the armour of the Plague Marine.

2) A base is a support and/or a framework to enhance the presentation of the central piece. Here this was achieved by cutting out the door frame: this creates a frame around the shape of the Marine and also allows you to see some of him from the back as if you were in the building.

3) Any little details added must be added to enhance the feel of the whole project but must not swamp or detract attention from the centre piece. In this project I simply added a poster to the otherwise bare wall. The colour of the poster is fairly neutral so it does not attract the eye at first glance, the small bloodstain adds a bit of colour and helps the observer create a story in his head: "What happened here? Who died? Was it a survivor fleeing this monstrous stinking warrior?..."


That's it for today folks!
Remember: enjoy your projects before any other concern and you will get the results you want sooner or later :)

https://www.facebook.com/pages/Tiny-People-Studio/168191060042372

Thursday, 10 October 2013

The Apocalypse Preacher (vol. I)


Ongoing project (WIP)


to get you in the mood...

This guy is a loooooooooooooooooooooong ongoing project. I've been coming back and doing bits on him for the past year and a half. Unfortunately I am a painter who starts more projects than he finishes, maybe this blog will help me discipline myself against this shortcoming...

Anyhow here is the current state of play!


The base is built up around and under a resin base by Fenryll, a few loose slates from Citadel / Games Workshop were added to blend the assemblages into each other and provide a level surface on which the Preacher will stand defiantly!

As you can see: defiant! Worthy of some of Irelands turn of the century "fire and brimstone" preachers!


I gave him a longer and more unkempt beard using GreenStuff; his original staff was replaced by drilling through his clenched fist and inserting a 1mm thick piano wire. The Imperial "I" was liberated from the hand oh a Sister of Battle; the various parchment strands were cut out of lead paper and finally the seals were quickly modelled out of GreenStuff.

At the rate he's going I may just have finished him by next summer... More news on this guy to come no doubt! 

However I must now return to work on my upcoming competition piece...


Little Red Riding Hood

WIP

Now that I've found his head I have made progress on "Shadowblade".


I can see you...


The NMM is starting to come in and I'm really loving the cloak! Evil Sunz Scarlet is a lovely shade I feel.
When I get round to the nitty gritty details of the face and expressions I am looking forward to testing the Acid Green Pigments from Forged Monkey. Hopefully this will give him a violent and piercing expression, and the two small green specks of his eyes should make a brilliant contrast to the huge red cape.

For those of you who are wondering the cloak so far:
- base of VGC Necrotic Red (G11) + VAC Acajou (036) respectively 1/3 and 2/3
- highlights at present performed using VGC Necrotic Red (G11) and GW Evil Sunz Scarlet
- shadings using the base colour and mixing in GW Liche Purple

Also these are some of the first pictures taken with my new 70-300 macro lens -> a really nice piece of kit for those who want to get closer to professional photography.

More to come soon!

abbreviations:
- VGC = Vallejo Game Color
- VAC = Vallejo Air Color
- GW = Games Workshop


The finished piece HERE!

https://www.facebook.com/pages/Tiny-People-Studio/168191060042372

Desktop Photo of the week

Just because I thought that it might be fun over time to see how the workspace evolves...


I do miss my second and third sources of light though, I must go and buy some more stuff... I am also surprised at the total absence of ageing mugs of tea or coffee, and no I didn't clean up before taking the picture!

What does your workspace look like?

Wednesday, 9 October 2013

From Tiny People to Massive Heads!


In june this year I was fortunate enough to be able to help Ben Dearnley with this huge 3 ton sculpture that emerged from a 5 ton block of Bathstone, and today was the unveiling of this piece in the wonderful grounds of Ashton Court Estate just outside Bristol.

So, just a few pictures from this event; because there are not just tiny ways to make art...

Once again Ben: Thank you for that marvellous experience and your kindness.


I really would recommend you visit his website as well to see some more of his amazing pieces: