
Hello Folks!
A quick tutorial for you, this time on painting quick and effective parchment effects for your base titles or other parchment elements!
This one I did on a WIP of Grimm Burlocksson, the mad dwarf engineer.
Here's how I went about it:
Firstly I created the actual title using lead paper as I described a while ago in this tutorial.
Secondly, after having primed the parchment in white using my airbrush I applied several layers of Steel Legion Drab mixed with a little bit of VGC carbonised brown (VGC G45). This I diluted approximately 1 part paint to 2 parts water and applied in several criss-crossing coats until I obtained a more or less homogeneous base. For this effect it is not important to have a homogeneous starter base, but it is important that none of the undercoat is visible before going to the next step.
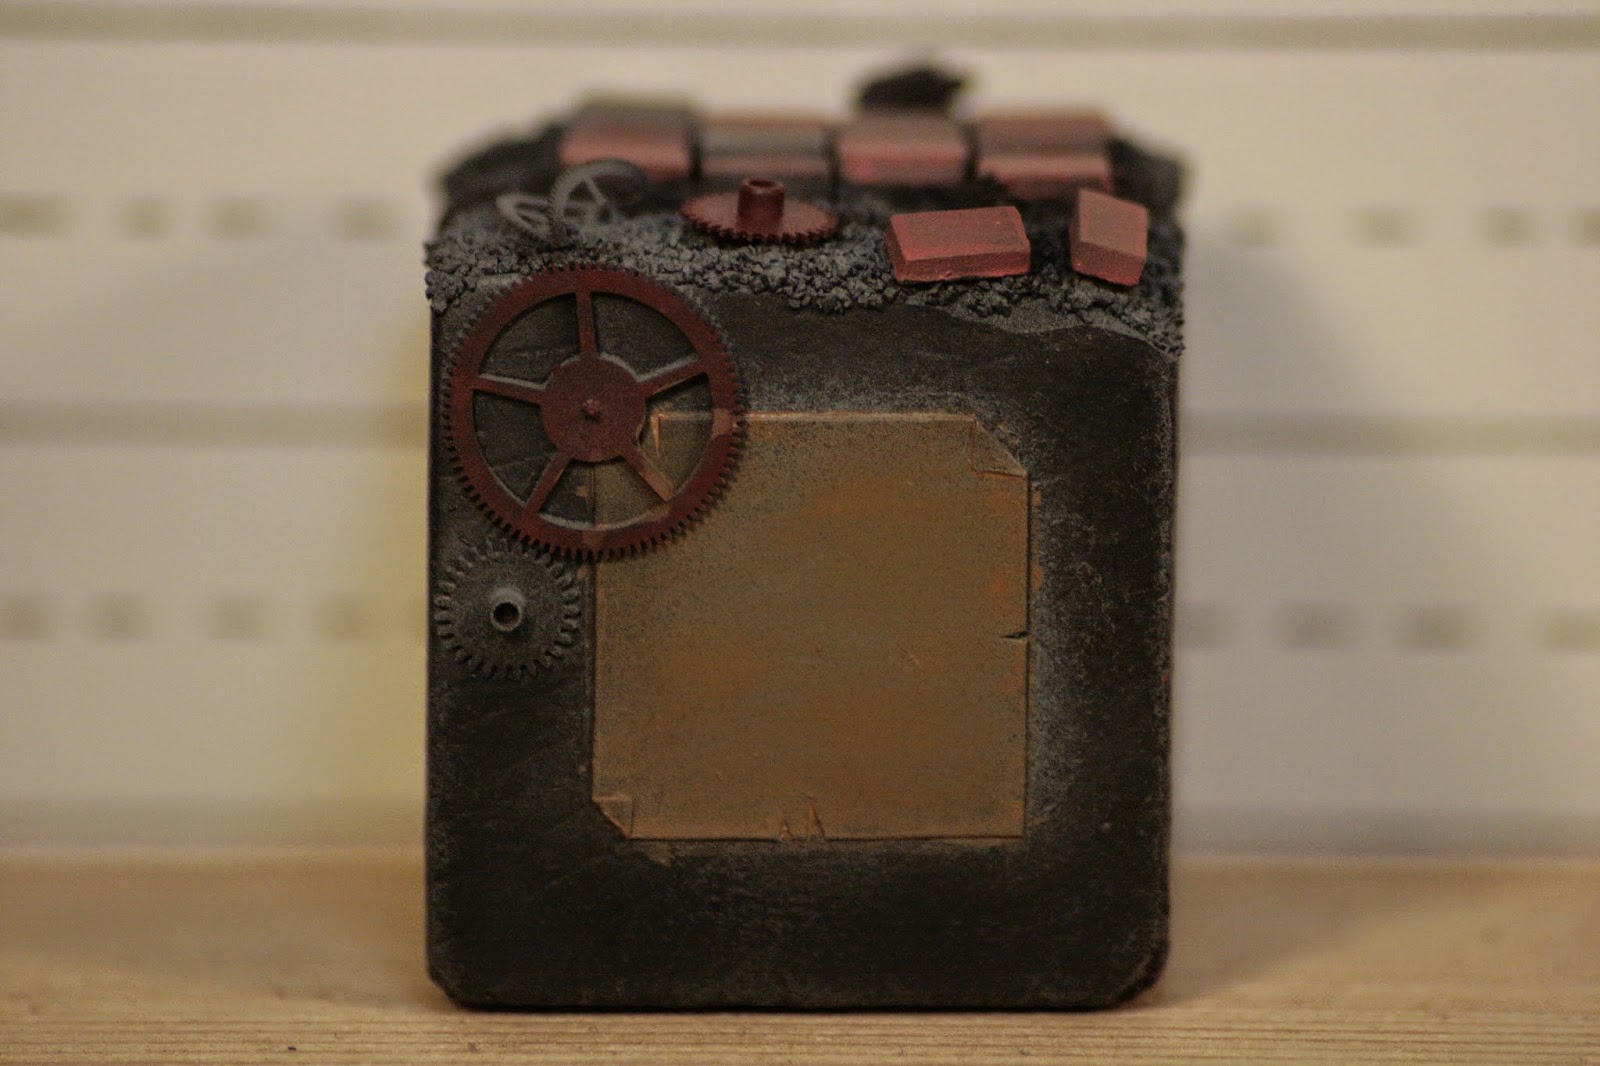 |
| after the base coat is ready: you can see it is not perfectly homogeneous, but no undercoat is visible |
Next I used VMC 927, a colour close to GW bronzed flesh. This I diluted quite heavily, approximately 1 part paint to 6 parts water. With this diluted paint I created random blotches of colour, using a paintbrush with a fairly large reservoir and by passing several times over the same areas. This is not an exact science and the more random your blotches are: the better!
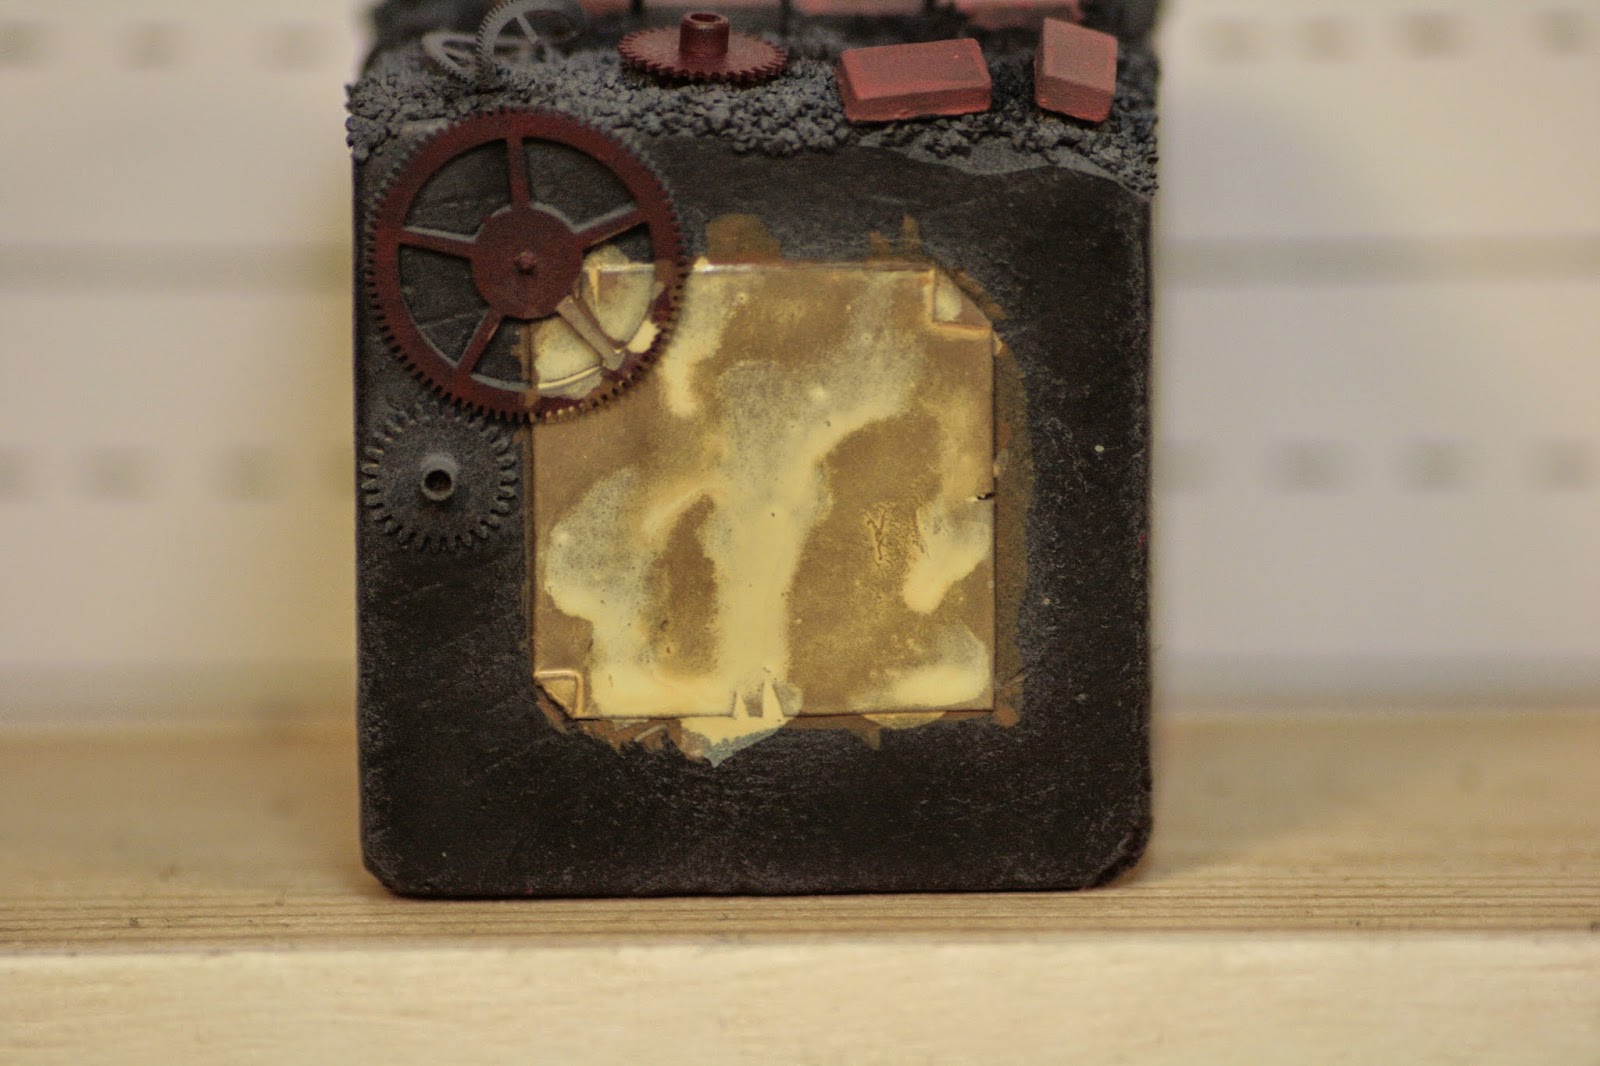 |
| The finished blotches, it looks a bit like a camouflage layout in fact... |
Next I grabbed some blister foam, tore a few bits off:
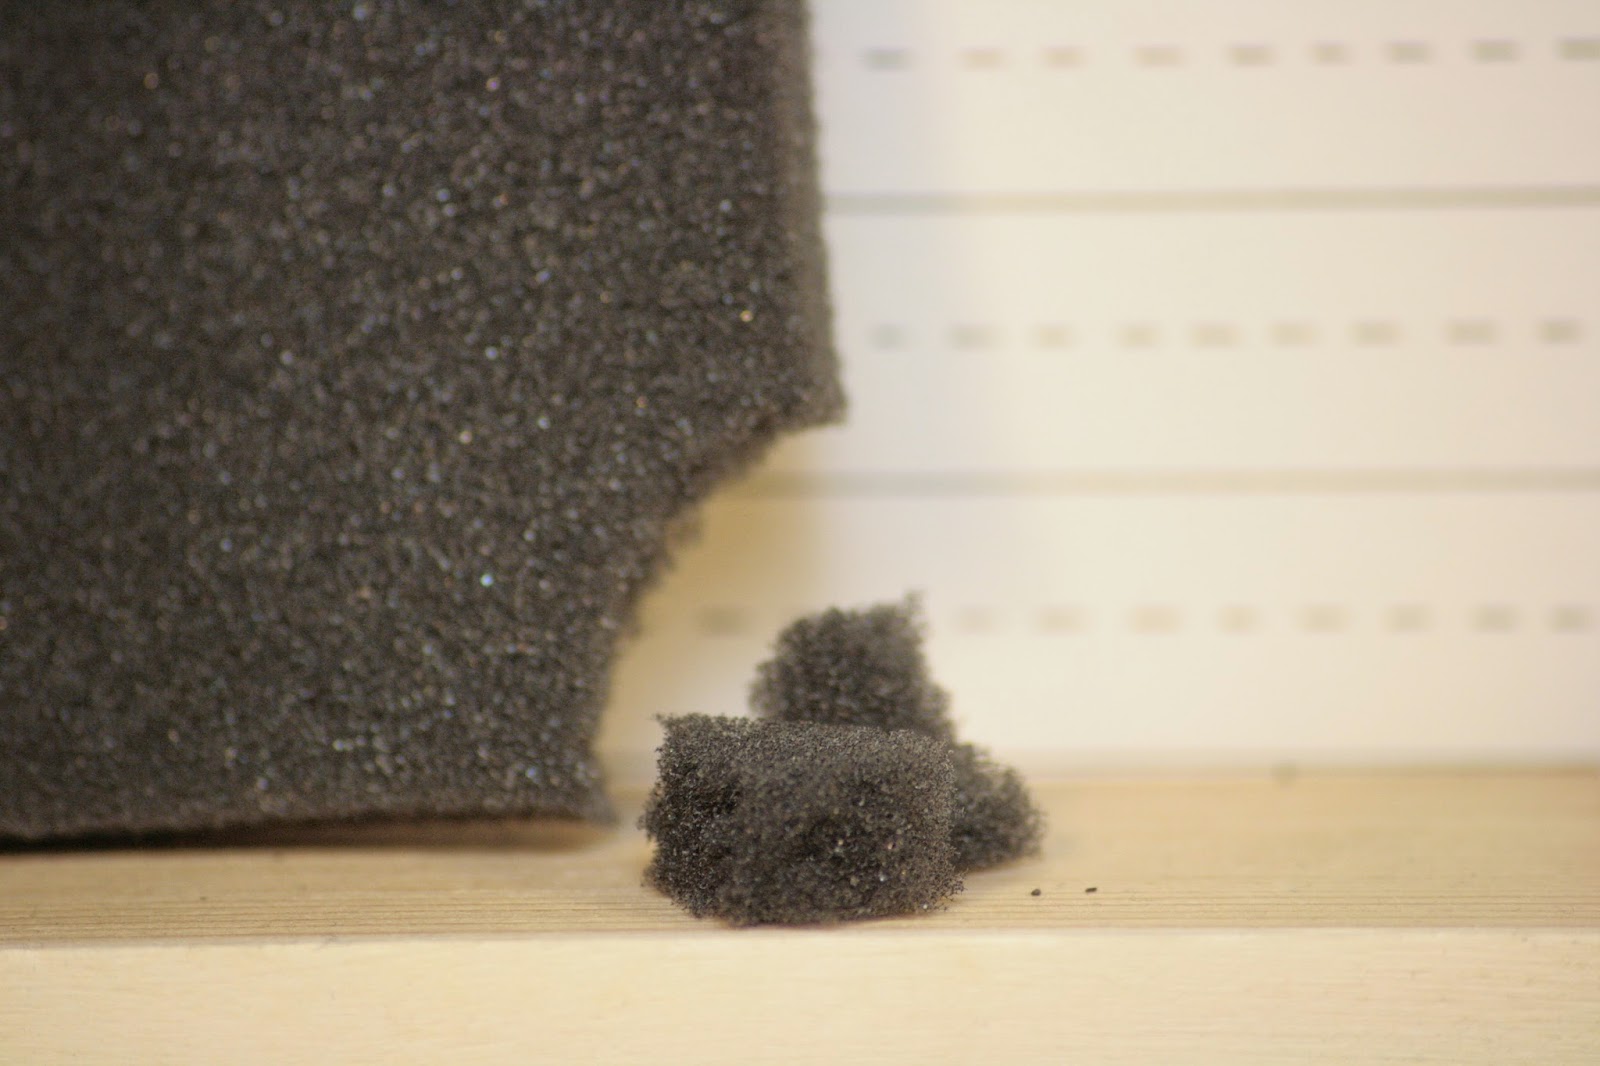
And used them to press little dots of the same flesh tone as before. Here I pass randomly over the whole surface regardless of the colour underneath. You need to slightly dilute your paint for this as well, otherwise your little dots will have a deep texture, and that you do not want! If you are not getting little dots but big blotches: press your paint loaded blister foam onto some kitchen roll as if preparing for a dry brush pass.

I repeat this process with a mix of VMC 927 and Skull White (approx. 50/50), here also I slightly diluted my paint: only a little drop into the mix just to help smoothen the deposits. Here as well if necessary rub your blister foam off on some kitchen roll before dabbing away!
Finally I tidied up the edges and creases using the same colours and mixes but thinned down sufficiently to be applied with a normal paintbrush:
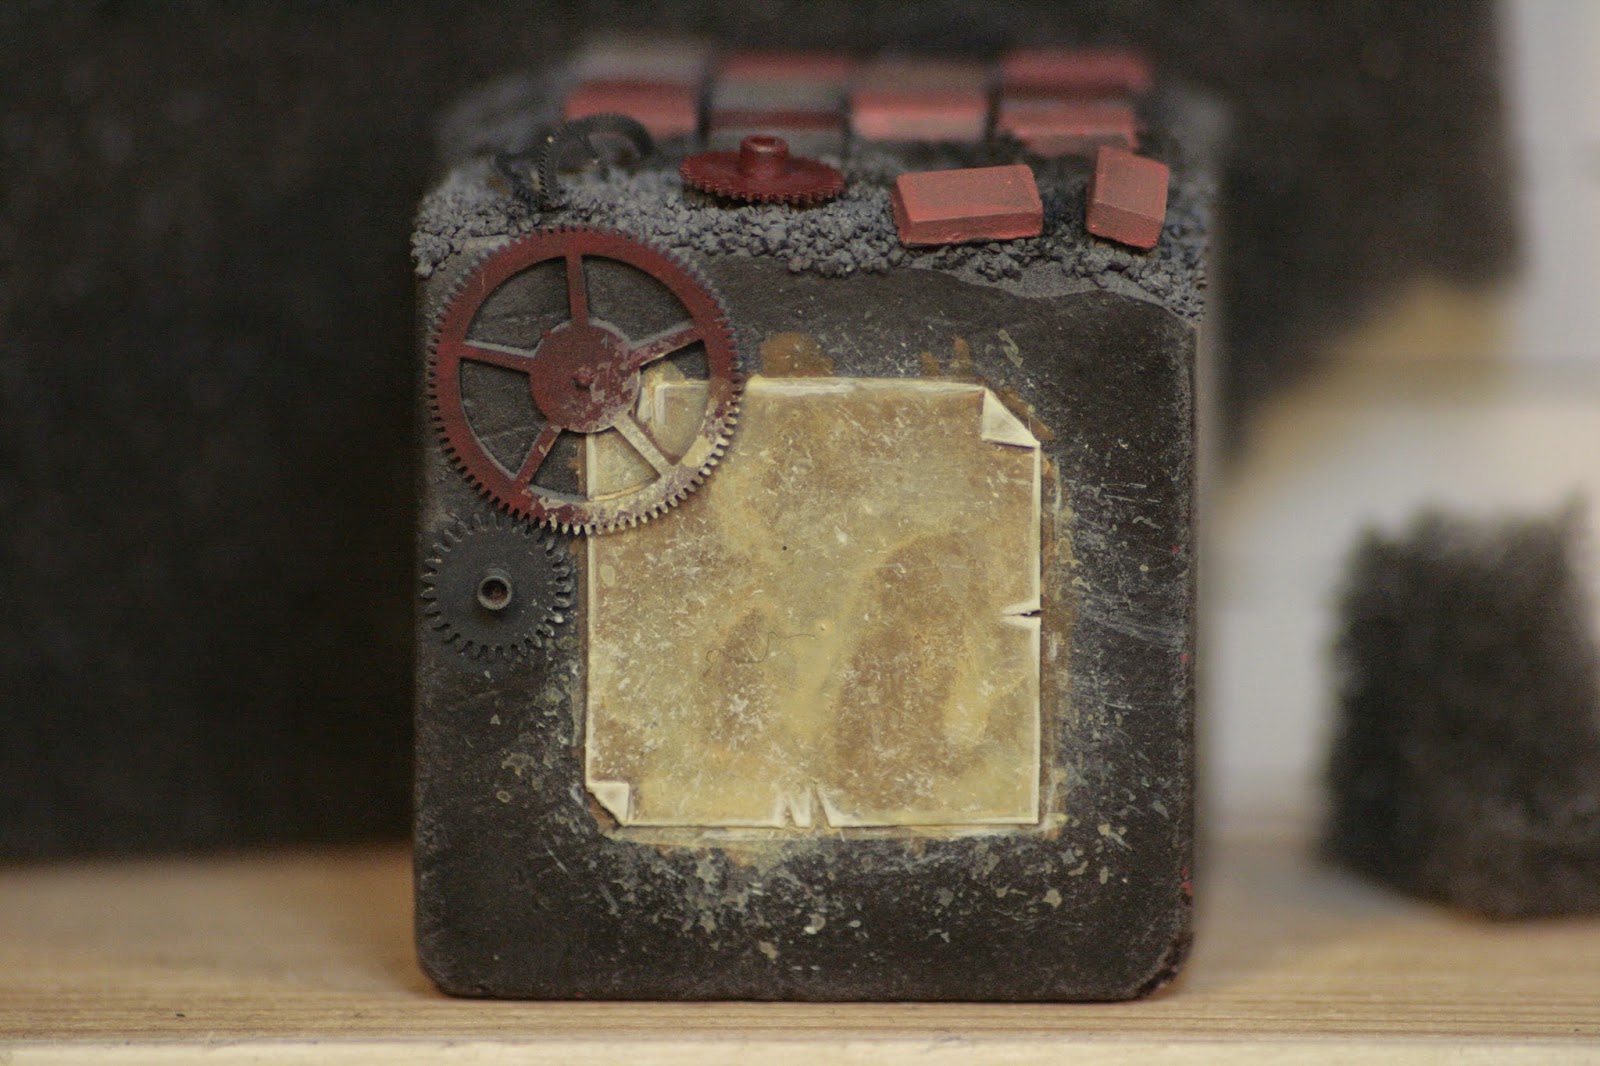 |
| The final light blotches and edge highlights, I also washed over the whole parchment with a wash of Steel Legion Drab |
All that remains to do now is to clean up around the parchment, but that will be done when I have finished painting the other details of the base (like the cog wheels...)
I hope this little tutorial will be of help to you! Try it out and let me know how it worked for you, OR better still: e-mail me some pics' of your works using these tips and tricks! (tinypeoplestudio@gmail.com)
Keep on dosing up on your pigments!