
That was not meant to be rude, it is merely a follow up to this article.
Now to explain how to make screw bases. As far as I can see it there are two ways, and I will explain one here, the second I will explain as soon as I get the vital bit missing for the project...
You will need:
- wood of two different thicknesses
- an 8mm wood drill bit
- an 6mm wood drill bit
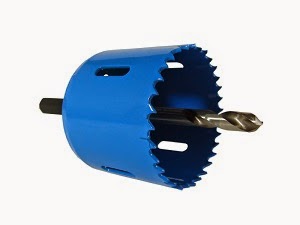
- a core drill with two different diameter settings at least -> the smallest diameter will be the actual surface of your base, the larger one will allow you to make a nice lip at the bottom of your base.
- obviously: a drill (if you have a column/press drill this is even better and lucky you!)
- PVA glue
- a 6mm inside diameter octogonal nut
- a 6mm diameter wingbolt

- a couple of clamps
- some felt in a colour of your choosing
- kitchen roll paper
- scissors
- a hole punch (can be replaced at a pinch by the scissors)
Now what to do?
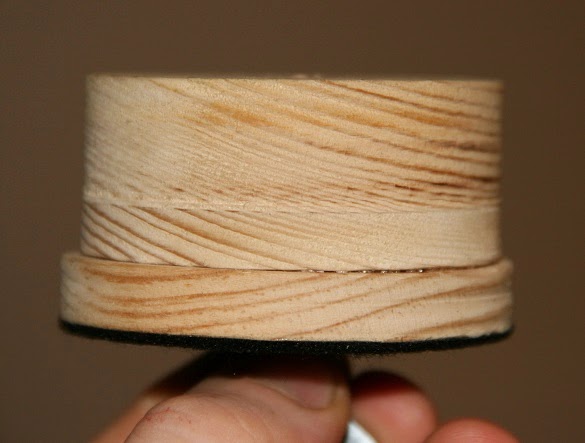
1) Cut out two discs using the core drill, one of each of your chosen diameters. I use the thicker wood for the main body of the base, and the thinner one for the bottom edge.

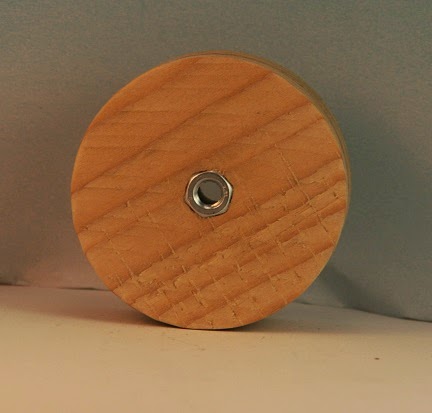
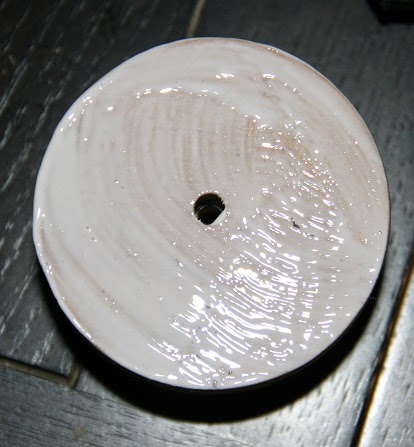
2) Using the 8mm drill bit enlarge the hole on one side of the thickest piece of wood. Then hammer the nut into this hole so that it ends flush with the wood surface:
3) Smear some PVA glue on the nut side, do nit get glue too close to the nut itslef:

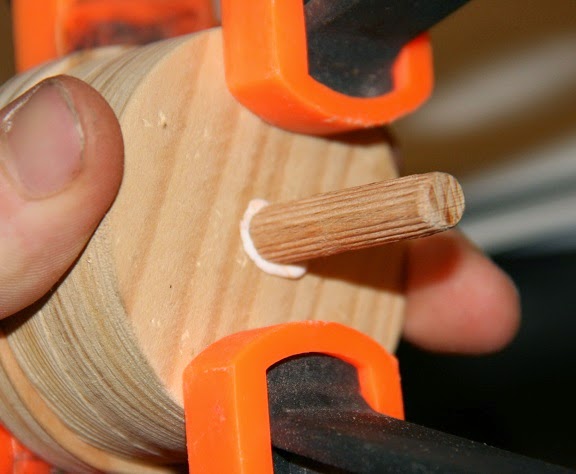
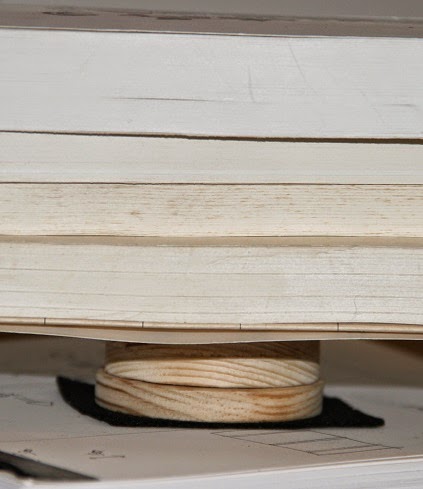
4) Use the wingbolt to align the two pieces of wood together and clamp them using... the clamps! simple really... :
 |
| Here you can see the use of the wingbolt to align the pieces, th block of wood in the red rectangle is of roughly the same thickness as the shelves in the transport case |
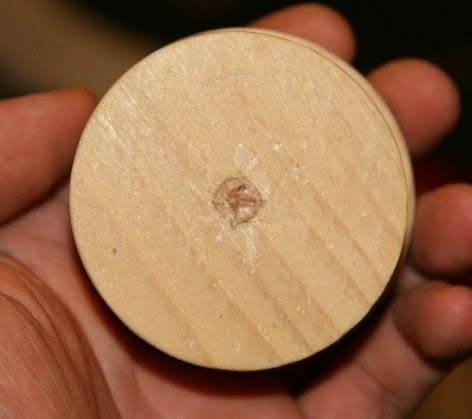
[optional step] 4b) If your core drill has made a hole all the way through your base, then glue the end of a dowel of the appropriate diameter in and let it dry. Then simply file away the excess dowel:
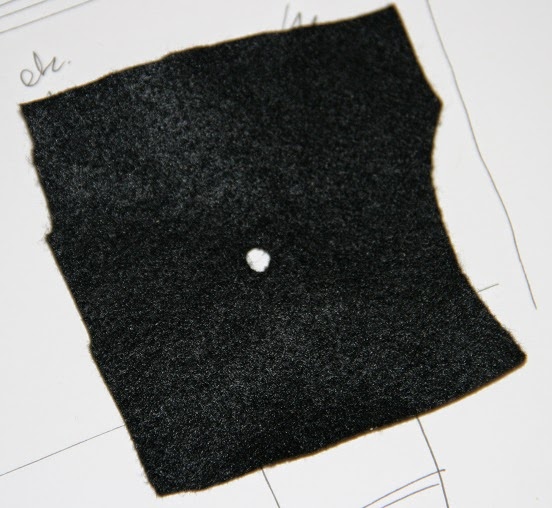

6) Now smear PVA glue all over the underside of your base in a thin homogenous layer, use the kitchen roll to help achieve this, and do not hesitate to go all the way to the edges to avoid having the felt tear off at the edges in the future...:

7) Next, place your felt on the PVA glue, taking care to line up the holes, then stick it under something heavy for half an hour or thereabouts:
8) Neatly trim the felt:

Yey! Now for colours!
(well black anyway in my case)
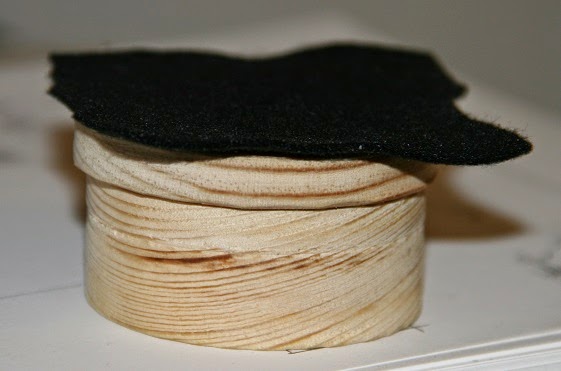
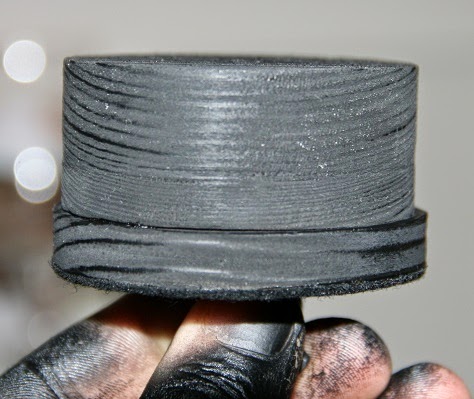
9) Use the wingbolt as a handle to hold the base while you spray it in the colour of your choice:
 |
| And if you aren't stupid like me you won't forget to wear a glove... |
And there you have it! Simple really wouldn't you say? The other option involves flanged hammer-in nuts but I haven't got any yet, so I won't tell you they are good or not: I don't know; but this system works I am certain.
Here is how in pictures:
 |
| I don't bother spraying the tops of bases until I have actually built up whatever scenery and details are going to figure on it |
 |
| It is well and truly fuc-erm: screwed! |
Hope this is of help, and answers the queries about how I fix my minis in my new transport case!
Happy DIY to you all!